
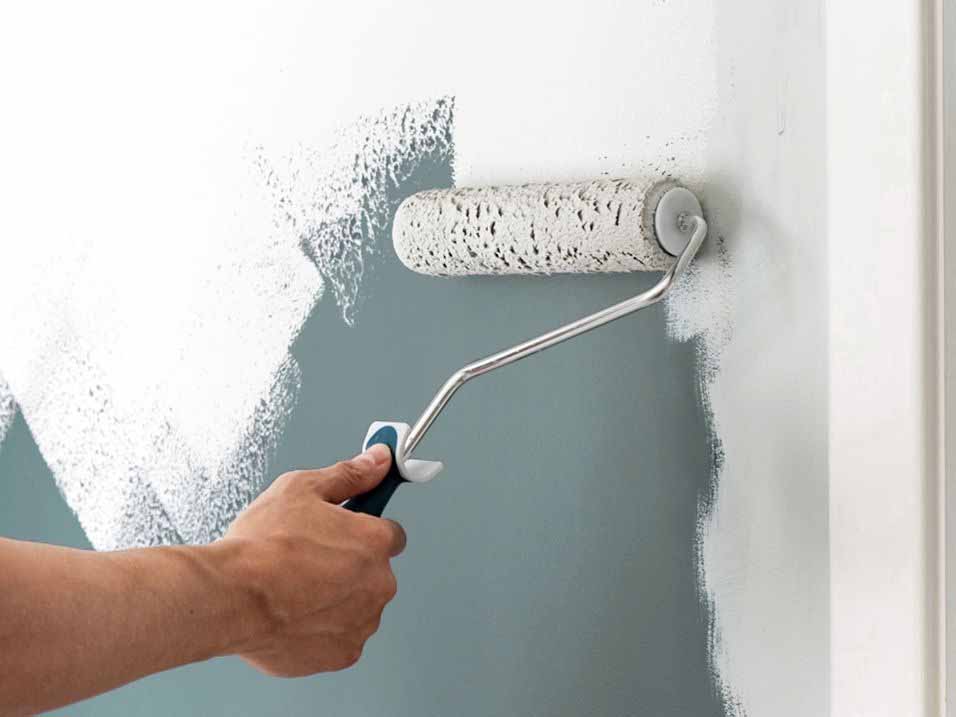
One of the questions we hear regularly is, “How long after GIB stopping can I paint?”
The tempting answer is 24 hours. The correct answer is a little different.
You can paint once the jointing compound is completely dry, properly sanded, free of dust and ready for sealer. Depending on the temperature, humidity, compound thickness and airflow in the room, that may be around a day in good conditions or several days when conditions are cold and damp.
For Auckland homes, humidity is particularly important. A wall can feel hard on the surface while moisture is still leaving the compound underneath.
Setting and Drying Are Not the Same Thing
This distinction catches people out.
Some stopping compounds can set and become firm relatively quickly. That does not necessarily mean they are dry enough to sand, seal or paint.
Jointing compounds contain water. That moisture needs time to leave the material. If another coat or a paint system is applied before the compound has dried properly, moisture can become trapped and the joint may continue shrinking.
That can contribute to visible joints, surface movement or poor paint adhesion later.
Our GIB® fixing Auckland team treats drying as part of the finishing process rather than something to rush through simply because the surface feels firm.
So How Long Does GIB Stopping Take to Dry?
For air-drying compounds, 24 hours is a useful starting point between coats in decent conditions, but it should never be treated as a guarantee.
Technical GIB guidance shows how dramatically humidity changes drying time for a typical 1.5 to 2 mm layer of wet compound.
At around 21°C:
- 60% relative humidity: about 20 hours
- 80% relative humidity: about 38 hours
- 90% relative humidity: about 3 days
At around 16°C and 90% relative humidity, drying can take about 4 days.
Those figures make an important point. The clock alone does not tell you whether a wall is ready.
Why Auckland Humidity Can Slow the Job Down
Auckland homes regularly deal with humid conditions, especially through cooler months. Renovation spaces can become even damper when windows stay closed and several areas of wet compound are drying at once.
As the compound dries, moisture moves into the surrounding air. If that air is already humid and there is little ventilation, drying slows down.
Good airflow helps replace moisture-laden air with drier air. Heating can also help in cold conditions, but the goal is steady, controlled drying rather than trying to force the surface dry quickly.
This is one reason an experienced plastering Auckland team will judge the actual site conditions instead of promising that every stopped room will be paint-ready the following morning.
Painting Too Soon Can Create Problems Later
Rushing from stopping into paint can create defects that may not be obvious immediately.
Potential issues include:
- joint compound continuing to shrink
- visible joint lines after painting
- poor adhesion
- soft compound scratching during sanding
- uneven surface texture
- localised cracking or peeling
A finished wall is a layered system. Each coat needs to be ready before the next one is applied.
That is also why our earlier guide on GIB stopping and painting in Auckland recommends planning the two trades together. The painter should not be arriving according to a calendar if the stopping still needs time.
Sanding Comes After the Compound Is Fully Dry
Once the compound has dried properly, the next stage is sanding.
Sanding removes small ridges, edges and tool marks while blending the stopped joint into the surrounding plasterboard surface. For final finishing, fine sandpaper is used so the joint can be smoothed without excessively damaging the paper face of the board.
This stage needs restraint. Aggressive sanding can scuff the plasterboard paper or create swirl marks that become visible once paint goes on.
Machine sanding with dust extraction can reduce airborne dust considerably, while hand and pole sanding still require careful dust management.
Sanding Dust Must Be Removed Before Sealing
A wall that looks clean can still carry a fine layer of plaster dust.
Painting or sealing directly over that dust is poor preparation. The coating needs to bond to the surface itself, not to loose particles sitting over it.
Before decorating, we make sure the wall is clean and dust-free. Depending on the situation, that may involve vacuuming, a soft brush or careful wiping.
Our house painting Auckland process starts with checking the substrate because the final finish depends heavily on what is underneath.
New GIB Needs the Right Sealer
Once stopped areas are dry, sanded and cleaned, the plasterboard needs to be sealed before the decorative coats.
Paper-faced GIB and stopping compound do not absorb paint in exactly the same way. A suitable wallboard sealer helps even out those differences so the following coats produce a more consistent colour and sheen.
Without the right preparation, joints can appear as patches or bands under certain lighting, even when the paint colour itself has covered the wall.
Sealer should therefore be considered part of the GIB finishing system, not an optional first coat.
We will cover specific Resene and Dulux sealer and primer options in a separate guide, because the right system also depends on whether the room is dry, wet, Level 4, Level 5 or being finished in a demanding colour or sheen.
How We Decide When a Wall Is Ready to Paint
We do not rely on one number of hours. Before painting begins, we want to see that:
- The final stopping coat has dried fully.
- The joints can be sanded cleanly without softness or excessive scratching.
- The surface is smooth under the lighting conditions in the room.
- Sanding dust has been removed.
- Any final defects have been corrected.
- The correct wallboard sealer can be applied.
If any one of those stages is rushed, the paint finish can suffer.
Give the GIB Time and the Paint Has a Better Chance
For most Auckland projects, the safest answer to “How long after GIB stopping can you paint?” is when the stopping is completely dry, not when 24 hours have simply passed.
Warm, ventilated conditions may allow the job to move relatively quickly. Cold, humid rooms can need considerably longer.
If you are planning stopping and painting together, our team can manage the timing from GIB fixing through to the final painted finish. That means each stage can begin when the surface is genuinely ready, giving you a cleaner result and reducing the risk of problems appearing after the room is finished.

